


Almost everyone who loves reading to a child has, at some point, thought "I could write one of these." The idea usually arrives fully formed for about thirty seconds, and then the questions show up: How long should it actually be? Do I need to know how to draw? What comes first, the story or the pictures?
This checklist answers those questions in order. It walks through every stage of writing a children's book, from the first spark of an idea to a finished, printed copy in your hands, with practical detail at each step rather than vague encouragement. Whether you are writing a picture book for your own children, a chapter book you hope to sell, or a personalized story as a gift, the same fundamentals apply. Where useful, we point to tools on Story Spark that can shorten specific steps, particularly illustration and printing, traditionally the two biggest barriers for new writers.
Quick Answers
What is the first step in writing a children's book? Define your reader before you define your story. Decide the age range and reading level you are writing for, since this determines word count, vocabulary, page count, and structure before a single sentence is drafted.
How long should a children's picture book be? Most picture books run 500 to 1,000 words across 24 to 32 pages. Early readers run roughly 1,000 to 2,500 words, chapter books 4,000 to 10,000 words, and middle grade novels 30,000 to 55,000 words.
Do I need to know how to illustrate a children's book? No. Many published children's authors are not illustrators. You can hire an illustrator, collaborate with one, or use an AI illustration tool such as Story Spark's storybook creator to generate artwork that matches your text and characters.
How do I publish a children's book once it is written? You have three broad paths: traditional publishing through an agent and publisher, self-publishing where you control production and keep full rights, and hybrid publishing where you pay a company for production services. Most first-time children's authors today self-publish, since AI writing and illustration tools have removed much of the cost and skill barrier.
Can I write a children's book with no writing experience? Yes. Children's books are short by design, and tools like Story Spark's book creator can help generate a first draft from a simple description, which you then edit and personalize. Experience helps with polish, not with getting started.
Why Use a Checklist at All
Writing a children's book looks simple because the finished product is short. That simplicity is deceptive. A 32-page picture book has to do everything a novel does: introduce a character, build tension, and deliver a satisfying resolution, but in a few hundred words and a fixed number of page turns. Every sentence is expensive. A checklist keeps you from skipping a step that only becomes obvious once it is too late to fix cheaply, such as a manuscript that cannot be illustrated in 32 spreads, or a finished book with no plan for reaching a reader.
The checklist below is organized into seven phases: preparation, planning, writing, illustration, editing, publishing decisions, and launch. You do not need to complete them in a perfectly straight line, but skipping a phase entirely is where most unfinished manuscripts come from.
Phase 1: Before You Write
- Read widely in your target age category. Before writing a single line, read twenty to thirty recently published books in the category you are aiming for, whether that is board books, picture books, or middle grade. This tells you what pacing, vocabulary, and length actually look like in practice, rather than what you remember from your own childhood, which may be decades out of date.
- Define your reader's age range and reading level. "Children's book" is not one category. Board books serve ages 0 to 3, picture books ages 3 to 8, early readers ages 5 to 7, chapter books ages 6 to 10, and middle grade ages 8 to 12 years old. Each has different vocabulary limits, sentence complexity, and expected length, so this decision shapes almost everything that follows.
- Distill your idea into one sentence. If you cannot summarize your story's core idea in a single sentence, it is not focused enough yet for a short-form book. Try something concrete: "A dinosaur who is too big for hide-and-seek learns to turn her size into an advantage."
- Identify the emotional takeaway. Strong children's books tend to leave the reader with a specific feeling or small piece of understanding, whether that is bravery, patience, or simply the joy of noise and rhythm. Decide early what that feeling is meant to be, without turning the book into a lecture.
- Check for market saturation. A quick search of your idea alongside "children's book" will tell you if it has already been done many times. This is not disqualifying, since there is no such thing as a truly unique premise in this category, but it tells you where your specific angle needs to differ.
Phase 2: Planning Your Story
Skipping outline work is the single most common reason children's book manuscripts stall halfway through. Because the format is so short, planning takes a fraction of the time it would for a novel, and it saves far more time than it costs.
- Choose your structure. Picture books generally follow a simple arc: a character wants something, faces an obstacle, tries and fails at least once, and resolves the problem in a way that reflects what they have learned. Chapter books and middle grade novels need a fuller plot with subplots and pacing across chapters, but the underlying want-obstacle-resolution shape still holds.
- Set your page or chapter count before you draft. Picture books are almost always 24 or 32 pages due to standard printing formats, which usually means 12 to 14 spreads of story once you account for the title page and front matter. Chapter books are typically split into 8 to 12 short chapters. Deciding this number first stops you from writing a story that has to be awkwardly trimmed or padded later.
- Build a page-by-page or chapter-by-chapter storyboard. For picture books specifically, map out what happens on each spread in one line before you write full text, including a rough note on what the illustration on that page should show. This catches pacing problems, such as three quiet pages in a row, while they are still cheap to fix. Story Spark's guide on turning a storyboard into a children's picture book walks through this process in detail if you want a fuller framework.
- Design your main character before the plot. Children's books live or die on a character readers want to follow. Give your protagonist one clear want, one clear flaw or limitation, and one distinguishing trait, whether that is physical, verbal, or behavioral, that a young reader will remember.
- Decide your narrative voice. Rhyme, rhythm-driven prose, or plain narrative are all valid choices, but they are not interchangeable partway through a manuscript. Rhyming text in particular is far harder to execute well than it looks, since forced rhymes and broken meter are the fastest way an otherwise good manuscript gets rejected. If you are not confident in verse, plain, rhythmic prose is usually the safer choice for a first book.
Phase 3: Writing the Manuscript
- Write a complete first draft without editing. Get the whole story down before you go back to polish a single sentence. Momentum matters more than precision at this stage, especially in a format this short, where a full draft might take a single sitting.
- Respect your word count target. Refer back to the ranges from the Quick Answers section: 500 to 1,000 words for picture books, 1,000 to 2,500 for early readers, 4,000 to 10,000 for chapter books, and 30,000 to 55,000 for middle grade. Going significantly over these ranges is one of the most common reasons agents and self-publishing readers alike lose interest early.
- Leave room for the pictures. In a picture book, the text should not describe everything the illustration will already show. If your character is "sad, with tears rolling down her cheeks, sitting alone by the window," you have written the illustrator's job for them and used up your limited word count doing it. Say less than you think you need to.
- Read every page aloud. Most picture books are read aloud by an adult to a child, often at bedtime, many times over. Text that looks fine on the page can be exhausting or awkward to speak. Read your draft aloud, ideally to an actual child, and note anywhere you stumble.
- Cut anything that moralizes. Children notice, and resent, being lectured. If the "lesson" of your book can be stated outright in the text, it is usually a sign the lesson needs to be shown through what the character does, rather than told directly to the reader.
- Use a first draft tool if you are stuck on structure, not content. If you know your character and ending but are struggling to get from a blank page to a workable draft, a tool such as Story Spark's book creator can generate a structured first pass from a short description, which you then rewrite in your own voice. Treat any AI-generated draft as raw material to edit, not a finished manuscript.
Phase 4: Illustration and Visual Planning
Illustration is where many aspiring children's book writers stall completely, because they assume they need to either learn to draw or pay a professional illustrator thousands of pounds before they can see their book finished. Neither is strictly true anymore.
- Decide your illustration path early, not after the text is finished. Illustration style affects pacing decisions, page turns, and even word count, since some spreads may need to be text-light to give the art room to work. Deciding this in Phase 2, not after the manuscript is done, avoids a mismatch between your text and your pictures.
- Consider your three main options. Illustrate the book yourself if you have the skill, commission a freelance illustrator, typically a few hundred to several thousand pounds per book depending on experience, or use an AI illustration tool that generates artwork from your text and character descriptions. Each has a different cost, timeline, and level of creative control.
- Keep character design consistent across every page. Whichever route you choose, the single most common illustration failure in amateur children's books is a character whose hair, clothing, or proportions shift noticeably from page to page. Readers, especially young ones, notice this immediately.
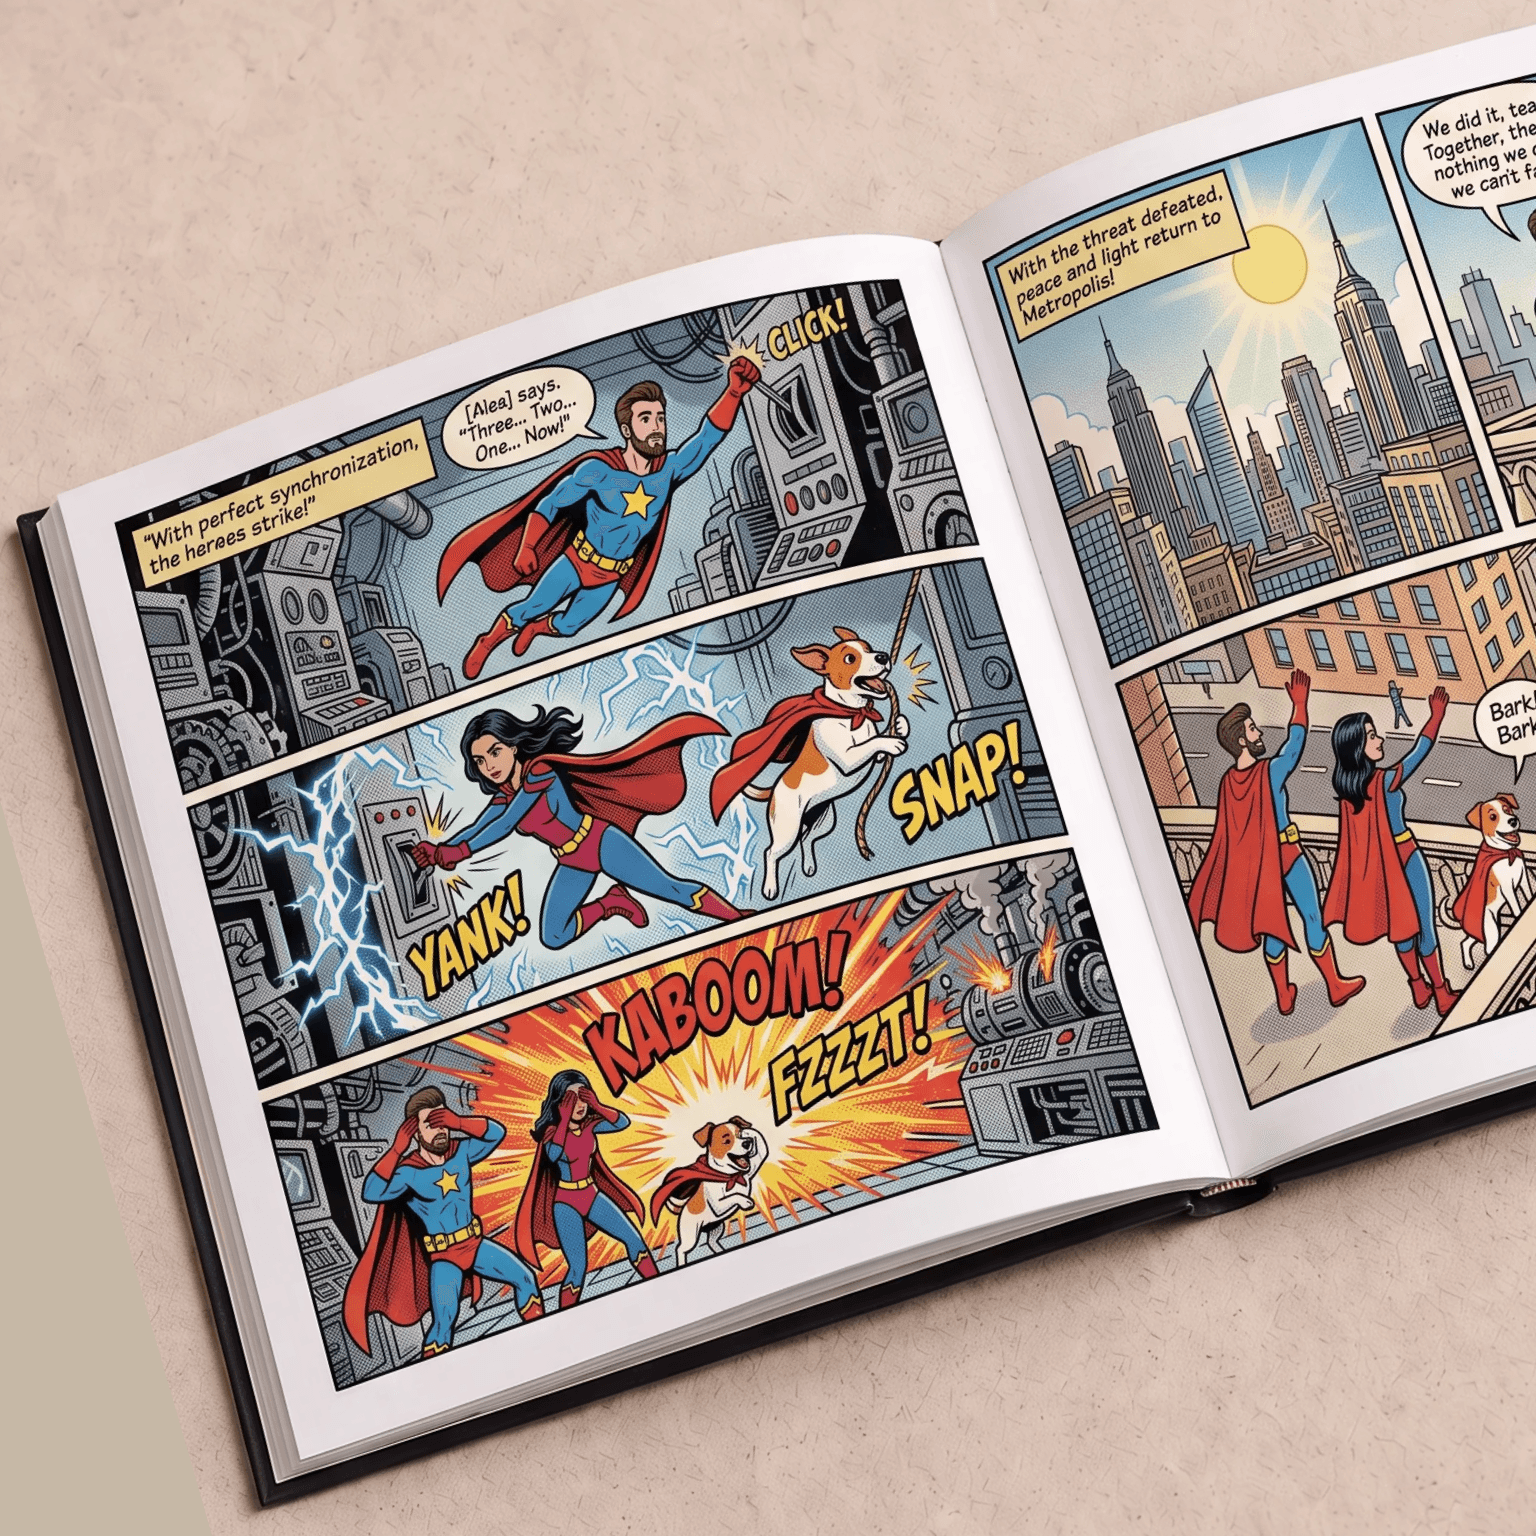
- Try an AI-assisted illustrator if budget or timeline is a barrier. Story Spark's storybook creator generates illustrations directly from your story text and can turn a photo of a real child or pet into a consistent illustrated character across every page, with more than ten illustration styles to choose from, removing both the cost of a commissioned illustrator and the wait time while still letting you review every page before printing.
- Preview the full book before finalizing anything. Whatever tool or illustrator you use, look at every page in sequence, not just individual images in isolation. Pacing problems are often invisible page by page and only show up when you flip through the whole book as a reader would.
Phase 5: Editing and Revision
- Let the manuscript sit before you edit it. Even a few days of distance makes it far easier to spot problems in your own writing. This matters more in short-form writing, not less, because every single word carries more weight.
- Edit for pacing first, sentence-level wording second. Check that something changes, either physically or emotionally, on every page or spread. A common failure in first-draft picture books is two or three pages in a row where nothing actually happens.
- Check vocabulary against your target age group. A picture book aimed at three-year-olds and one aimed at seven-year-olds can use very different sentence structures and word choices, even though both fall under "picture book." Match your language to the reading level you set in Phase 1.
- Get feedback from someone in your target audience, not just other adults. Adult feedback helps with grammar and structure, but the real test of a children's book is whether a child in the target age range stays engaged, laughs, or asks to hear it again. Read it to a real child if you can, and watch their reaction rather than only asking afterward.
- Proofread separately from editing. Do a dedicated pass purely for typos, punctuation, and formatting once the content itself is finished. Combining proofreading with content editing means both get done less carefully.
- Consider a professional editor for a book you intend to sell widely. If you are pursuing traditional publishing or plan to sell copies beyond family and friends, a professional children's book editor can catch structural issues that are hard to see in your own work. This step is optional for personal or gift copies but worth the investment for a book with commercial ambitions.
Phase 6: Choosing Your Publishing Path
This is the decision point where most aspiring writers get stuck, often for longer than the actual writing took. Story Spark's complete guide to getting a children's book published covers this in more depth, but the short version is below.
- Understand your three broad options. Traditional publishing means securing a literary agent who pitches your manuscript to publishing houses. It has no upfront cost but typically takes 18 to 36 months and offers the least creative control. Self-publishing means handling or commissioning every step yourself, keeping full rights and a faster timeline. Hybrid publishing sits between the two: you pay a company for production services while keeping more rights than traditional publishing, though quality varies enormously, so vet any hybrid deal carefully before paying anything.
- Decide whether you are writing to sell, to gift, or to keep. Not every children's book needs to be pitched to agents or sold on a retail shelf. A personalized story written for your own child or as a one-off gift has a much simpler path: write it, illustrate it, and print a single copy, with no agent, ISBN, or retail listing required.
- Only pursue an ISBN if you plan to sell through retail channels. An ISBN is required to list and sell through most bookstores and online retailers, but not to print and keep a personal copy or give it as a gift. Confirm what your intended distribution channel actually requires before assuming you need one.
- Verify commercial rights on any AI-assisted content before selling. If you use AI tools anywhere in your process and intend to sell the finished book, check the commercial usage terms of the tools you used. Story Spark's Creator plan, for example, is built to support commercial use and removes platform branding from exported files.
- Self-publishing is now the realistic default for most first-time children's authors. This was not true a decade ago, when hiring a professional illustrator put self-publishing out of reach for most new writers. AI writing and illustration tools have lowered that barrier considerably, which is part of why most new children's books published each year are now self-published rather than traditionally published.
Phase 7: Design, Print, and Launch
- Choose your trim size and format deliberately. Picture books are conventionally printed as square or near-square hardcovers, commonly around 21cm by 21cm, while novels and longer chapter books use a more traditional rectangular trim, often around 16.5cm by 24cm. Format affects cost and how the book feels in a child's hands.
- Design a cover that works as a thumbnail, not just a printed page. If you plan to sell online, your cover needs to read clearly at a small size, since that is how most buyers first encounter it. Bold, simple character-focused covers generally outperform busy, detailed ones at thumbnail size.
- Order and review a physical proof before a full print run. Colors, trims, and binding can look different in a physical copy than on a screen. If printing more than one or two copies, request a single proof first and check every page before committing to a larger order.
- Use a print-on-demand or short-run service for a first title. Committing to a large print run before you know how a book will be received is a common, expensive mistake. A service that prints premium hardcovers on demand, such as Story Spark's book creator or storybook creator, lets you order a single copy to test or gift, then scale up once you know the book works.
- Plan your launch before the book arrives, not after. Decide in advance who the book is for, where you will share it, whether that is family, a school, or a wider online audience, and how people will find out it exists. Even a simple plan dramatically outperforms no plan at all.
- Keep writing. The single best predictor of whether a first children's book leads to a second, better one is simply continuing. Treat your first book as practice for your craft rather than a final verdict on your ability, and start planning the next one while the first is still fresh.
Common Mistakes to Avoid
A few mistakes show up often enough in new children's book manuscripts to call out directly.
Writing for an unclear age range is the most frequent structural problem, since vocabulary, length, and themes all depend on knowing exactly who you are writing for. A close second is over-illustrating the text itself, describing everything the picture will already show and leaving the illustrator, whether human or AI, nothing to add. Rushing from a finished first draft straight to a large print run, without a proof copy or outside feedback, is a costly mistake a short pause will always avoid. Treating a manuscript as finished the moment it "feels done," rather than after a dedicated editing and proofreading pass, tends to produce books with pacing issues a second look would have caught.
Frequently Asked Questions
How long does it take to write a children's picture book? The writing itself can take anywhere from a single afternoon to several weeks, depending on how much outlining and revision you do. Illustration and production typically take longer than the writing, particularly with a commissioned illustrator, where turnaround can run several months.
Do I need an agent to publish a children's book? Only if you are pursuing traditional publishing through a major publishing house. Self-publishing and personalized printing routes require no agent at all, and this is the path most new children's authors now take.
What age group is "children's books" actually referring to? It covers a wide range, from board books for infants and toddlers through picture books for ages 3 to 8, early readers for ages 5 to 7, chapter books for ages 6 to 10, and middle grade novels for ages 8 to
- Each category has different length and vocabulary expectations.
Can I use AI to write and illustrate my children's book? Yes. AI tools can generate a first-draft manuscript from a description and produce consistent illustrations from your text and character details, including turning a photo into an illustrated character. Most writers use AI output as a strong starting point that they then edit and personalize, rather than a finished product.
How much does it cost to make a children's book? Costs vary widely by path. A commissioned professional illustrator alone can run from several hundred to several thousand pounds per book. Platforms that combine writing help, illustration, and premium hardcover printing, such as Story Spark, typically start under fifty pounds for a single finished, printed copy.
Where can I get help if I get stuck partway through writing? Story Spark's Learning Centre has guides covering specific stages in more depth, from storyboarding to publishing routes, and the community shows how other creators have approached the same stages.
Getting Started
The gap between "I could write a children's book" and an actual finished, printed copy is almost always a gap in process, not talent or writing ability. Every phase in this checklist exists because it solves a specific way that gap causes people to stall out, whether that is an unclear reader, a missing outline, an illustration bottleneck, or simply not knowing what "finished" looks like.
If you already have an idea, the fastest way to see it take shape is to start drafting directly. Story Spark's book creator lets you turn a short description into a structured first draft, choose from a range of illustration styles, and preview every page before ordering a premium hardcover copy, whether that copy is for your own child, a gift, or the first step toward something you plan to sell. You can compare formats and pricing on the pricing page, or browse the FAQ if you have questions about the process before you begin.
Writing a children's book has never required a publishing deal, an art degree, or years of preparation. It requires a clear idea, a workable plan, and a willingness to finish what you start. This checklist is meant to make sure you have all three before you write your last page.
Written by the Story Spark Team. Story Spark is an AI-powered platform for creating, illustrating, and printing your own books.