


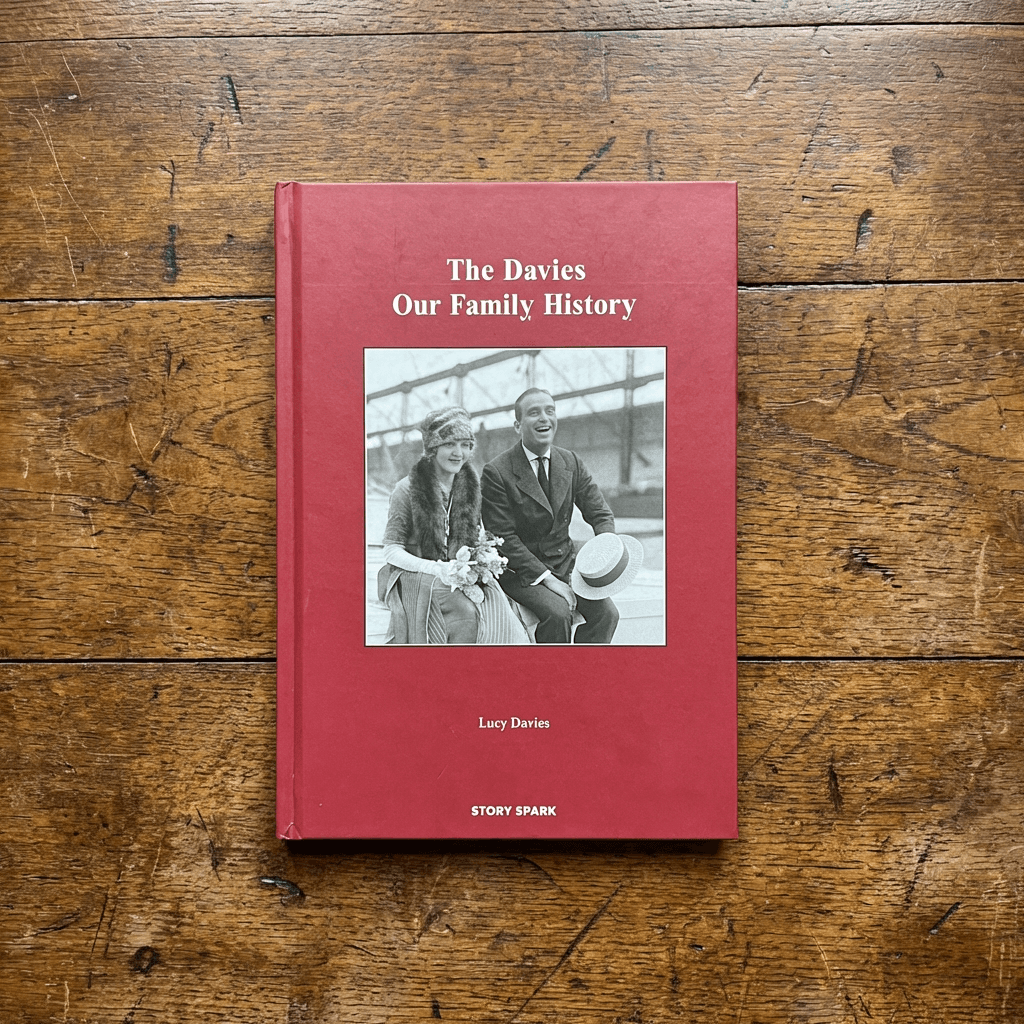
Writing a family history book involves eight core steps: deciding the scope, gathering material from documents and photos, interviewing living relatives, organizing everything into a structure, writing the chapters, adding photos and images, editing with input from family members, and finally printing the finished book as a hardcover. Story Spark's Book Creator supports every step after the interviewing, turning raw notes and photos into a properly formatted, illustrated hardcover book up to 200 pages, without requiring any writing or design experience.
Why Family History Books Matter More Than Most People Realize
Every family has a version of the same problem: the person who remembers the most, who grew up in the old house, who knew the grandparents nobody else met, who can still recite the story of how two people fell in love sixty years ago, is getting older, and none of it is written down. Family history disappears quietly. It's not usually lost in one dramatic moment. It fades a little more with every year nobody sits down to record it, until the details that once felt permanent become vague, then contested, then gone.
A family history book solves this in the most durable way available: it puts the story into a physical object that can be read, reread, handed to a new generation, and referenced accurately for decades. Unlike a group chat thread, a shared folder of scanned photos, or a story told once at a holiday dinner, a printed book doesn't get buried in a feed or forgotten in a drive. It sits on a shelf, gets pulled down, and gets read.
This guide walks through the complete process of writing a family history book, from the first decision about scope through to a finished, printed hardcover, using tools like Story Spark's Book Creator to handle the parts of the process (formatting, illustration, layout, printing) that used to require a professional publisher or years of self-taught design work.
Step 1: Decide What Kind of Family History Book You're Writing
Before gathering a single fact, it helps to decide what shape the finished book should take, since this changes everything downstream: how much material you need, how it should be organized, and how long the finished book will run.
A single-person memoir focuses on one relative's full life story, typically written in first person or narrated closely from their perspective. This is the right choice if you have one living relative (often a parent or grandparent) whose life you want fully documented while they're still around to help fill in details.
A multi-generational family history traces a family line across several generations, often organized by branch or by decade, pulling together stories, documents, and photos from many relatives rather than centering on one person. This suits families with a long, well-documented history, or a specific migration story, founding event, or family business that spans generations.
A themed family history organizes the book around a specific thread rather than a strict chronology, a family's immigration story, a family recipe tradition and the stories behind each dish, or the history of a specific family home. This format works well when you have rich material on one topic but incomplete records elsewhere.
A collaborative family scrapbook history gathers shorter contributions from many family members (a page or two each) rather than one continuous narrative, useful for larger extended families where everyone has a piece of the story but no single person has the whole picture.
Most family history projects benefit from picking one of these before starting research, since it directly shapes which questions you'll ask relatives and how much material you actually need to gather. Story Spark's Book Creator supports books up to 200 pages, which comfortably covers any of these four formats, from a focused single-person memoir to a sprawling multi-generational history.
Step 2: Gather Existing Material Before You Start Writing
Before you write a single sentence, spend time collecting what already exists. This step is tedious but it's the foundation everything else builds on, and skipping it tends to produce thinner, less accurate books later.
Start with documents: birth certificates, marriage certificates, immigration papers, military records, old letters, diaries, and any paperwork that establishes dates, names, and places with certainty. These matter more than memory alone, since human recollection of exact dates and spellings tends to drift over decades.
Next, gather photographs, as many as you can find, even ones that seem irrelevant or unlabeled. A photo of an old house, a workplace, or a car can jog a relative's memory in an interview far more effectively than a direct question. Scan or photograph physical prints so you have digital copies to work with, since these will later be uploaded directly into your book.
Look for existing written accounts: old family newsletters, obituaries, previous attempts at family trees, or genealogy research someone in the family may have already done. Many families discover that a cousin or aunt already compiled partial research years ago that never got finished or shared widely.
Finally, check public records and archives if you're researching further back than living memory can reach: census records, ship manifests, newspaper archives, and cemetery records can fill gaps that no living relative can answer directly. Many of these are searchable online through genealogy databases, though this guide focuses primarily on the writing and book-creation process rather than genealogical research methods.
Step 3: Interview Living Relatives
Interviews are usually the single richest source of material for a family history book, and they're also the most time-sensitive, since they depend on people being alive and willing to talk. Prioritize interviewing the oldest living relatives first, since their memories reach furthest back and their availability is the least guaranteed.
Record every interview, whether by phone, video call, or in person, rather than relying on notes taken during the conversation. Trying to write while listening means missing details, and family history interviews often wander in useful directions that are hard to capture accurately in real time. A simple voice memo app or video call recording is enough. You can transcribe or summarize afterward.
Ask open-ended questions rather than yes-or-no ones. Instead of "did you enjoy growing up there," try "what was your street like when you were a kid" or "walk me through a typical Sunday in your childhood home." Open questions tend to surface specific, usable details, the name of a childhood friend, the smell of a particular kitchen, a fight that became a family legend, that closed questions rarely produce.
A few reliable interview prompts that work across almost any family history project include asking what their parents were like as people rather than just as parents, how they actually met a spouse rather than the polished version usually told at parties, what the hardest year of their life was and how they got through it, and what they most want their grandchildren or great-grandchildren to know about them. These questions tend to produce the material that makes a family history book feel alive rather than like a list of dates and facts.
Don't worry about getting a clean, publishable quote in the moment. Rough, conversational answers are exactly what you need. Turning that material into readable prose is a later step, and tools like Story Spark's Spark Writing Assistant are specifically built to help shape rough interview notes into proper chapters, so there's no need to over-engineer the interview itself.
Step 4: Organize Your Material Into a Structure
Once you've gathered documents, photos, and interview material, the next step is deciding how to organize it before you start writing full chapters. Trying to write chronologically while research is still scattered tends to produce a disorganized first draft that's hard to fix later.
A simple, reliable approach is to create a rough timeline first, even a basic spreadsheet or document listing major events by approximate year: births, marriages, moves, deaths, career changes, and any significant family events. This becomes your chapter skeleton. Most family history books end up organized either strictly chronologically (one chapter per decade or life stage) or by generation (one section per family branch), and deciding this early prevents a lot of restructuring later.
Group your interview material and photos against this timeline as you go, noting which quotes, stories, and images belong with which period or person. This is also the point where gaps become obvious, moments where you have a date but no story, or a story but no photo, which tells you where additional research or a follow-up interview conversation might be worth the effort before moving to full writing.
Step 5: Write the Chapters
With material organized, writing becomes a matter of shaping raw notes and interview transcripts into readable prose rather than starting from a blank page. This is often the step people worry about most, and it's also the step where Story Spark's Book Creator removes the most friction.
You have two practical approaches. The first is describing your concept to Story Spark's AI-assisted book creator, providing a summary of the chapter's content, key facts, and quotes, and letting it draft an initial version organized chapter by chapter with guided formatting. The second is writing everything yourself using the Create Your Own option, a clean blank canvas with professional book formatting and sizing already built in, where you retain full control over every sentence.
Most family history projects benefit from a hybrid of both. Draft chapters from your organized notes, then use the in-editor Spark Writing Assistant to refine specific paragraphs, tighten a rambling section, or suggest how to phrase a delicate topic (a difficult period in a relative's life, a family conflict, a loss) with appropriate care. Since nothing is locked in until you decide it is, you can rewrite paragraphs, restructure chapters, and adjust formatting as many times as needed before finalizing anything.
A practical tip for pacing: aim for roughly 1,500 to 3,000 words per chapter if you're covering a full life or a full generation across multiple chapters. This keeps individual chapters readable in one sitting, which matters if you intend for the finished book to actually be read cover to cover rather than referenced occasionally.
Step 6: Add Photos and Illustrations
A family history book without photos feels like a document. A family history book with photos feels like a memory. Once your chapters are drafted, go back through your gathered material and place photos alongside the sections they relate to, a childhood home photo next to the chapter about growing up, a wedding photo next to the chapter about meeting a spouse, and so on.
Story Spark also supports transforming photos into illustrated artwork through its Illustrate My Photo feature, which can turn an existing family photograph into a beautiful illustration in a chosen style. This works particularly well for opening or closing pages, or for older, lower-quality photographs that benefit from a fresh illustrated treatment rather than being printed as a faded original scan. If your family history book includes stories about relatives who lived before photography was common, illustrated scenes built from descriptions in interviews can also fill visual gaps that no photograph ever will.
Step 7: Edit With Input From Family Members
Family history books benefit enormously from a second, third, and sometimes fourth set of eyes, both for accuracy and for tone. Facts drift across retellings (a wedding date, the name of a childhood street, which sibling was actually present for a particular event), and other family members are often the only ones who can catch these errors before they're printed permanently.
Share a draft, or specific chapters, with relatives who lived through the events being described, or who heard the same stories from a different family member. Because Story Spark lets you preview every page before ordering, you can circulate a full page-by-page preview to family for feedback without committing to anything, then make corrections before finalizing your order.
This is also the point to think carefully about sensitive material. Family histories often touch on difficult subjects: estrangements, addiction, loss, financial hardship, or conflict. There's no universal rule for how much to include, but it's worth discussing with immediate family before finalizing a chapter that covers a genuinely painful chapter of someone's life, particularly if that person is still living.
Step 8: Choose a Title, Cover, and Final Formatting
With chapters written and edited, the final creative decisions are the book's title and cover. A strong family history book title often references a specific place, name, or recurring theme rather than a generic phrase, something like the family surname paired with a defining location or era, or a phrase pulled directly from an interview that captures the book's tone.
Story Spark's book editor lets you choose a front cover from templates, have one generated for you, or upload your own design, and you can preview the complete book page by page before committing to a printed order. This is the point to check formatting consistency throughout: chapter headings, photo placement, and page order, since nothing is locked in until you're satisfied with the full preview.
Step 9: Print and Order Copies
Once your family history book is finalized, Story Spark prints it as a hardcover, sized at 16.5cm x 24cm, up to 200 pages, with full-quality print throughout and a personal dedication page. Orders are printed and dispatched within 5 working days, and there's no minimum order quantity, so you can order a single copy for one relative or multiple copies to distribute across the family.
If you want copies to arrive at different addresses (siblings, cousins, or elderly relatives in different locations) you can arrange shipping details at checkout. For large family reunions or milestone events where many copies are needed at once, Story Spark also supports bespoke pricing for bulk orders, worth inquiring about if you're planning to distribute the book at a reunion or anniversary celebration.
Step 10: Decide Whether to Self-Publish More Broadly
Some family history projects grow beyond a single-family keepsake into something worth sharing more widely, particularly stories tied to significant historical events, immigration journeys, or notable family businesses that might interest readers outside the immediate family. If that's the direction your project takes, Story Spark's Creator plan removes Story Spark branding from exports (PDF, ePub, and individual page assets) and gives you full ownership of AI-generated content, making it possible to distribute or self-publish your family history more widely if you choose to.
For a closer look at self-publishing more generally, see Story Spark's guide on How to Self-Publish a Children's Book with an AI Book Creator, which covers export options and publishing considerations that apply beyond children's books as well. You can also compare Story Spark against other book-making tools in Story Spark vs Book Creator: Which Children's Book Tool Is Right for You? if you're evaluating options for a broader publishing project.
Common Mistakes to Avoid When Writing a Family History Book
Waiting too long to interview the oldest relatives. This is the single most common regret people report after finishing a family history project: wishing they'd recorded a grandparent or great-aunt a year or two earlier, before memory or health made a full interview impossible. If there's one step to prioritize immediately, it's this one.
Trying to cover too much in too little detail. A family history book that tries to summarize five generations in 40 pages often ends up feeling like a list of names and dates rather than a story. It's usually better to go deep on fewer generations or fewer relatives than to attempt shallow, comprehensive coverage of everyone.
Skipping the organization step and writing straight from raw notes. Jumping directly from scattered interview transcripts to full chapters, without first building a rough timeline or structure, tends to produce a disorganized draft that requires far more rework later than if structure had been decided upfront.
Forgetting photos until the end. Photos are far easier to place correctly while you still remember which story or interview they relate to. Waiting until the writing is finished to sort through photographs often means losing track of which image belongs with which chapter.
Not building in a family review step. Because family history involves shared memory, other relatives frequently catch factual errors, misremembered dates, or missing context that the primary writer alone would never catch. Skipping this step risks printing a book with mistakes that are difficult to correct once copies are distributed.
Why a Printed Book Beats Other Family History Formats
Families have tried recording history in many formats over the years: shared Google Docs, private blogs, scrapbooks, voice recordings left untranscribed in a drawer, or scattered social media posts. Each of these has real limitations compared to a printed book. Digital documents get lost when accounts change or platforms shut down. Scrapbooks are fragile, one-of-a-kind, and impossible to share with more than one relative at a time. Voice recordings, unless transcribed and organized, tend to sit unused precisely because listening back to hours of raw audio is a much bigger ask than reading a well-organized chapter.
A printed hardcover book solves the durability and shareability problems simultaneously. It can be copied for every branch of the family, doesn't depend on any account, subscription, or platform staying active, and physically signals that the material inside was worth the effort of binding and printing. Story Spark's Book Creator is built specifically to take you from scattered notes and photos to that finished, printed object, without requiring design software, a publishing background, or a professional editor.
Frequently Asked Questions
How long should a family history book be? Most family history books run between 60 and 200 pages, depending on scope. A single-person memoir often lands on the shorter end, while a multi-generational history covering several family branches tends to run longer. Story Spark's Book Creator supports books up to 200 pages.
Do I need professional writing experience to write a family history book? No. Story Spark's AI-assisted book creator can help draft chapters from a description of your material, and the in-editor Spark Writing Assistant helps refine rough notes into readable prose. You can also write everything yourself if you prefer full control.
How do I interview elderly relatives for a family history book? Record the conversation rather than relying on notes, ask open-ended questions instead of yes-or-no ones, and prioritize the oldest living relatives first, since availability is the most time-sensitive factor in any family history project.
What should I do if family members remember events differently? This is common in family history projects. Where accounts conflict, it's often best to include both perspectives briefly rather than choosing one as definitively correct, or to note that memories differ on a specific detail. Circulating a preview to multiple relatives before finalizing helps catch these conflicts early.
Can I include old photographs in a printed family history book? Yes. You can upload existing family photographs directly into your book, and Story Spark's Illustrate My Photo feature can also transform an existing photo into an illustrated image if you want a more artistic treatment for a particular page.
How much does it cost to print a family history book? Printed books through Story Spark start from 39.99 for a hardcover, with pricing details and any AI-assisted subscription plans available on the Pricing page. There's no minimum order quantity, so you can order a single copy or several for different family members.
Can multiple family members contribute to the same book? Yes. Many family history projects are collaborative, with different relatives contributing chapters, photos, or interview material. You can combine everyone's contributions within a single book using Story Spark's editor before finalizing the layout and ordering copies.
How is a family history book different from a personalized storybook gift? A family history book, built through Story Spark's Book Creator, is a longer, prose-led format suited to memoirs and detailed histories, up to 200 pages. A personalized storybook is a shorter, illustrated format better suited to a single story or memory, often used as a gift for a specific occasion. Both can be built around real family history, just at different lengths and with different levels of illustration.
Start Writing Your Family's Story
A family history book is one of the few gifts that gets more valuable with time rather than less. The version you write today, while relatives are still around to interview and memories are still relatively sharp, becomes something future generations simply cannot recreate once the people who lived it are gone. The tools have changed (interviews recorded on a phone instead of a cassette tape, chapters drafted with AI assistance instead of a typewriter) but the value of putting a family's story into a real, printed book hasn't changed at all.
Start writing your family history book with Story Spark's Book Creator, or explore personalized gift ideas if you're building a shorter, occasion-specific project instead of a full family history.
Related reading:
Written by the Story Spark Team. Story Spark is an AI-powered platform for creating, illustrating, and printing your own books.